Hey pool pros and hose slingers Rooster Ray here and today were talking about your pool’s unsung overworked organ the cartridge filter. You know the one quietly trapping bug legs and body oils while everyone else gets the credit for the cannonballs. When this hardworking hero clogs up the whole system goes sideways faster than a beach ball in a windstorm.
This guide is your no nonsense no bleach no pressure washer breakdown of how to clean your filter the right way. First we’ll go over the gear you actually need to avoid chaos in flip flops. Then I’ll walk you through every step of the cleaning routine from soaking to rinsing to O ring love. We’ll cover the pressure gauge signs of distress and why skipping lube is a silent filter killer.
You’ll also learn what not to do like banging your filter on concrete or treating it like a dirty dish from hell. Wrap it all up and you’ve got a clean system happy circulation and no emergency calls because your pump decided to retire mid summer.
So if you want your pool to sparkle your pump to chill and your cartridge filter to live its best life stick with the filter fix framework and let’s scrub smarter not harder.
What You Need Before You Start

Before you suit up like you’re heading into pool battle, take a beat and grab your gear. Cleaning a cartridge filter isn’t rocket science—but doing it without the right tools? That’s how you end up soaked, frustrated, and staring at a torn filter like it personally insulted your family.
This job’s quick and satisfying if you’re ready. A well-prepped filter clean keeps your circulation system strong, your pump pressure steady, and your water sparkle-level set to “brag-worthy.” But go in unprepared and it’s chaos in flip-flops. Here’s what you need to do it right:
Hose With a Spray Nozzle
A good ol’ garden hose with a trigger-style spray nozzle is your best friend here. You’re looking for steady pressure—not a laser beam. Skip the pressure washer unless your goal is to convert your $100 cartridge into poolside confetti. A wide, firm stream loosens debris from between pleats without mangling them.
Filter Cleaning Solution
This isn’t just water and wishful thinking—you need a real cleaner. Filter-specific solutions break down the greasy cocktail of sunscreen, body oils, and whatever your dog contributed to the party. Soaking without it is like washing dishes with plain water. Technically you’re trying, but not much is happening.
A Big Enough Soaking Container
The filter’s got to sit completely submerged for its soak session, so grab something roomy. A trash can, large bucket, or deep plastic tub works great. Just maybe don’t “borrow” your kid’s toy storage unless you want the action figures smelling like chlorine spa day for the rest of the year.
Soft Brush or Filter Cleaning Tool
You might need to give stubborn gunk a nudge. Use a soft-bristle brush or a tool designed for filter cleaning. Skip the wire brushes, metal scrapers, or your old BBQ tongs—this isn’t brisket, and filter media isn’t replaceable on the cheap. Gentle is the name of the game.
Pool Lube for the O-Ring
This one’s sneaky important. Every time you open and close the filter housing, you need to re-lube the O-ring with pool-grade silicone lubricant. A dry or cracked O-ring will betray you with leaks, pressure loss, or worse—a surprise system failure mid-heatwave. A quick dab now saves a major headache later.
Step-by-Step: Remove, Rinse, Soak, Repeat

So, you’ve got your gear in hand, you’ve read the label on the filter cleaner (hopefully), and you’re feeling confident. Good. Because now it’s time to roll up your sleeves and actually clean this thing. Cartridge filters don’t need a whole production—just consistency, care, and a little finesse.
This isn’t a demolition job. It’s more like giving your filter a much-needed vacation with a deep-tissue massage. Follow these steps, avoid the common pitfalls, and your filter will come out the other side cleaner, stronger, and ready to keep your pool party-ready.
Step 1: Turn Off the System
This is the “don’t skip this” step. Always cut the power to your pump before touching anything on the equipment pad. One wrong move and you’re one surprise spin away from a high-speed impeller slap you’ll never forget. Seriously—don’t just flip the switch, turn it off at the breaker if you can. Water and motors don’t play fair when they’re surprised.
Step 2: Open the Filter Housing
Depending on your filter model, this might involve a clamp, a collar, or a set of bolts. Whatever you’re unscrewing, take your time. But before you open the lid, relieve the internal pressure using the air release valve. Skip that, and you’re about to get a chlorinated geyser to the face. Not exactly refreshing.
Step 3: Remove the Cartridge(s)
Take it easy here. Your filter cartridge is sturdy, but not invincible. Think firm-but-respectful—like shaking hands with your in-laws. Don’t yank, drop, or twist it like you’re opening a pickle jar in front of company. Bent pleats and cracked end caps aren’t just annoying—they’re expensive to replace.
Step 4: Rinse with a Garden Hose
Use your hose with a fan-style nozzle and go pleat by pleat, top to bottom. Spray in between the folds to flush out the gunk—not just on the surface, but deep in the crevices where sunscreen, hair, and nature’s weirdest floaties hide. No pressure washers, ever. You’re cleaning a filter, not stripping paint off a barn.
Step 5: Soak in Filter Cleaner
This is the deep clean your cartridge deserves. Mix your pool-safe filter cleaner with water in your soaking container and let the cartridge rest overnight. This breaks down oils, lotions, and the summer sludge that rinsing alone can’t touch. It’s basically a spa retreat for your filter—just without the fancy robe.
Step 6: Rinse Again and Air Dry
After the soak, rinse thoroughly. No half-measures—get all that cleaner out of every pleat. If you’ve got time (and sun), let the filter air dry completely. This helps the media bounce back into shape and gives your filter a bit of well-earned rejuvenation.
Bonus Move: Rotate Filters Like a Pro
If you’ve got a backup cartridge (and we recommend it), swap it in right after cleaning. That way, your system keeps running while your original filter air-dries like it’s lounging at the beach. This move keeps your maintenance stress low and your water crystal-clear, no downtime required.
What NOT to Do (Ever)
. It’s about protecting your pool pump, lowering system pressure, boosting circulation, and keeping everything running smoother than your uncle’s line-dancing moves at the Fourth of July BBQ. So remember the sacred steps of the filter-fix-framework: rinse like you mean it, soak like you care, reassemble with a little lube and a lot of love. No pressure washers. No bleach. No rage-pounding the cartridge like it owes you rent. Your filter’s job is to trap the mess—not be the mess. And hey, next time you see that pressure gauge creeping up, don’t wait until your pump starts making blender noises. Give your filter a spa day. Because in the world of pool care, clean filters = clean water = calm minds = fewer emergency Googles at 9 p.m. Until next time— Scrub smart, soak proud, and never let your filter go full swamp again. – The Rise ‘n’ Shine Poolside Crew")
Let’s be honest—sometimes the urge to “just get it done” leads to questionable life choices. Cleaning a cartridge filter is one of those times where brute force, random chemicals, or “YouTube hacks” can seriously backfire. Your filter’s tough, but it’s not invincible—and treating it like a junkyard part is a surefire way to trash it fast.
If you want your cartridge to live a long, happy life (and avoid dropping another $100 every time it wheezes), steer clear of these common filter fails. Trust us—your pool, your wallet, and your weekend sanity will thank you.
No Pressure Washers
This one’s tempting, we know. That pressure washer in the garage is just sitting there looking powerful and ready to blast. But your filter pleats aren’t concrete—they’re delicate layers of fiber designed for precision, not punishment. Pressure washers shred them like confetti, and suddenly you’ve got a useless pile of mush.
Don’t Bang Them on the Ground
We’ve seen it: the frustrated pool owner smacking a cartridge against the patio like it owes them money. Spoiler alert—this doesn’t “loosen debris.” It just breaks stuff. You’re damaging the core, crushing the pleats, and asking for premature failure. If you’re mad, go punch a pillow—your filter didn’t sign up for violence.
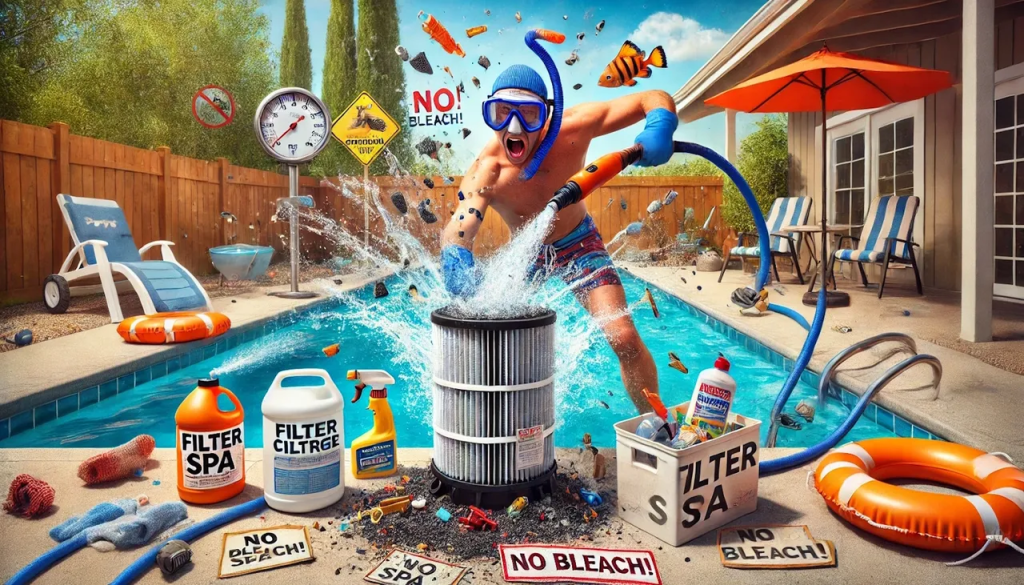
No Bleach or Harsh Cleaners
Bleach might seem like a go-to for killing gunk, but it’s not your filter’s friend. Harsh household cleaners and bleach break down the fibers in your cartridge, leave behind chemical residue, and mess with your pool chemistry. Always use a filter-specific cleaning solution. It’s formulated for the job and won’t turn your filter into a sponge full of regret.
Don’t Forget the O-Ring Lube
Your filter housing O-ring is like the unsung hero of leak prevention. Every time you reseal the lid, give it some pool-grade silicone grease. Skip this and you risk dry rot, cracks, suction loss, and eventual leaks that lead to pressure issues or total shutdown. Lube is love—and in this case, lifesaving.
Ignoring the Pressure Gauge
Your pressure gauge isn’t decorative. It’s not there to complete the “mechanical chic” look of your equipment pad. It’s a warning system. When it’s reading 8–10 PSI over your clean baseline, your filter is crying for help. Waiting too long to clean means lower flow, higher strain, and a pump with one foot in the grave.
Wrap-Up: Filters Deserve Spa Days Too

If your pool filter had feelings, it’d probably be curled up in a corner by now—overworked, underappreciated, and caked in the kind of grime that sunscreen and dog hair nightmares are made of. But you? You’re not the type to let a hardworking filter suffer in silence.
Giving your cartridge filter the VIP treatment isn’t just about water clarity (though yeah, it’ll sparkle like a diamond in July). It’s about protecting your pool pump, lowering system pressure, boosting circulation, and keeping everything running smoother than your uncle’s line-dancing moves at the Fourth of July BBQ.
So remember the sacred steps of the filter-fix-framework: rinse like you mean it, soak like you care, reassemble with a little lube and a lot of love. No pressure washers. No bleach. No rage-pounding the cartridge like it owes you rent.
Your filter’s job is to trap the mess—not be the mess.
And hey, next time you see that pressure gauge creeping up, don’t wait until your pump starts making blender noises. Give your filter a spa day. Because in the world of pool care, clean filters = clean water = calm minds = fewer emergency Googles at 9 p.m.
Until next time— Scrub smart, soak proud, and never let your filter go full swamp again. – The Rise ‘n’ Shine Poolside Crew